A Radial White Light Interferometer for Measurement of Cylindrical Geometries
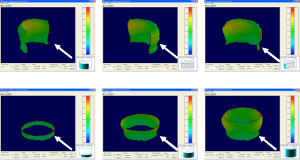
This work presents a radial white light interferometer developed for non contact measurement of cylindrical parts. The system uses an innovative radial interferometer of non coherent light, enabling the measurement of a whole cylindrical area without any circular movement of the part. The system is fully automated and, as the measurement is performed over an area and not over a line, a few vertical steps are enough to evaluate the whole form of internal or external cylinders. Up to 300.000 points can be measured in each acquisition, making possible an in depth analysis of the cylindrical geometry. Dedicated software process the clouds of points and calculate parameters as circularity in each section, straightness of boundaries, cilindricity, etc. The measurement of the part can be done also by comparison with a standard or by comparison with the part itself, for example, in the evaluation of wear and loss of material during test of products. The part is measured before and after running a test and the results can be compared and several parameters calculated. The calibration of the system defined an uncertainty of ±0,002 mm for absolute measurements and ±0,001 mm for differential measurements.

